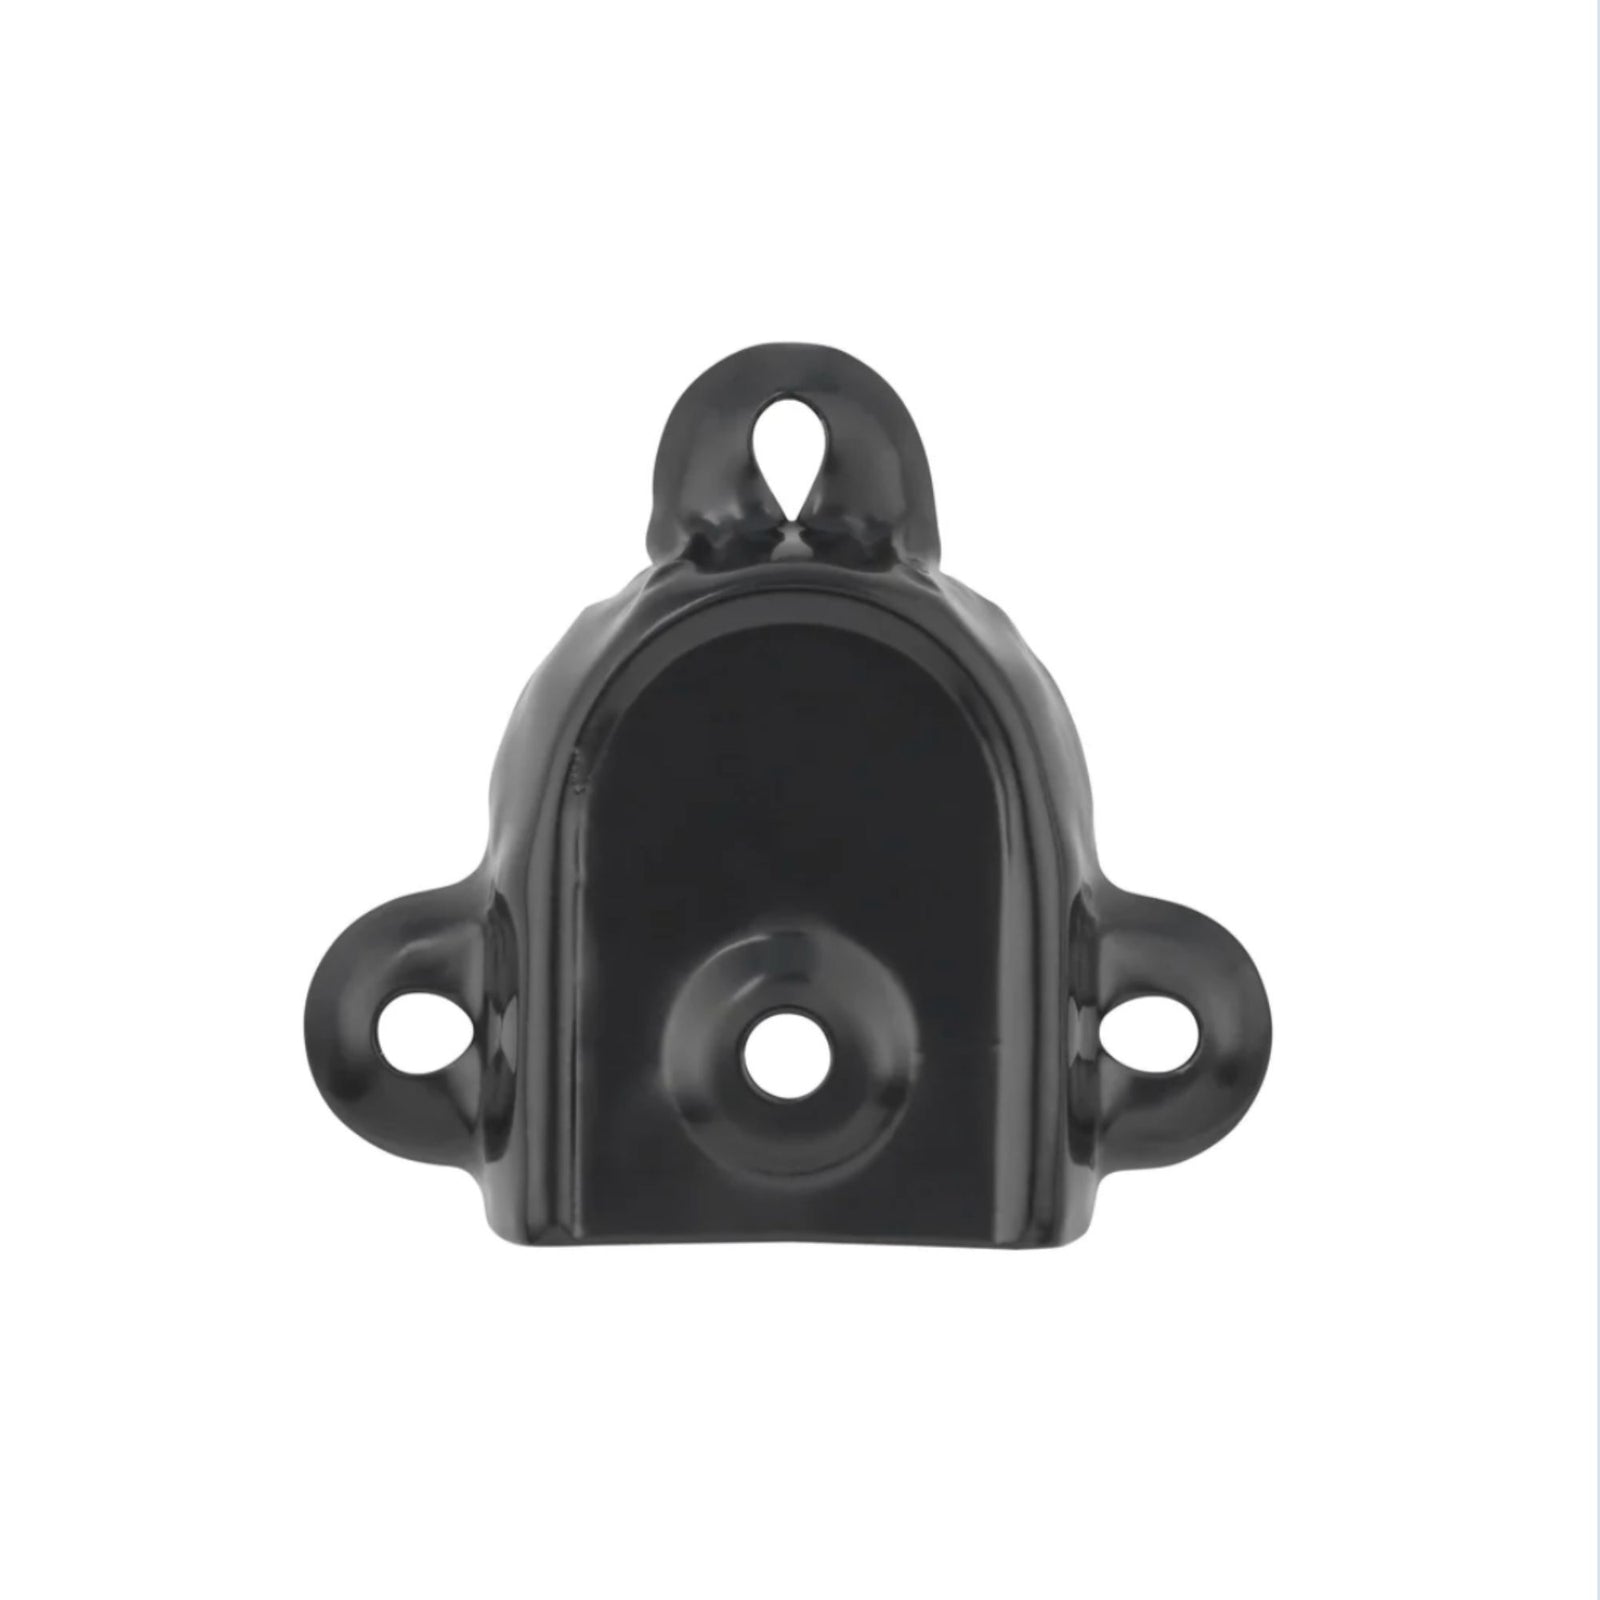
How to install a Trunk Handle
How to install a Trunk Handle
Trunk nails ~x30
Leather Handles x2
Handle Caps or Loops x4
1. Removing Handle Caps.
Use a tack or staple remover to pry up the nails holding the handle caps. It is only necessary to pry a nail up enough to remove with pliers or some sort of puller, as shown in the picture below.


2. Removing Leather Handles.
After the handle caps are removed, repeat the previous process to remove the leather handles.

3. Installing New Leather Handles.
Hold an old iron or some other heavy piece of metal on the inside of the trunk box. As you hammer the nails through the leather and the box, the nails will crimp over as you drive them through. Don't forget to leave enough room so your hand can hold the handle once it's installed, see the picture below.


4. Installing New Handle Caps or Loops.
Repeat the process described in step three to install the Handle Caps or Loops.

5. Job well done!
Now stand back and admire your labors


